Granting Stores Access on the Customer Portal
If your customers need to view their live stock levels, place stores orders, or track storage charges through the customer portal, you'll need to grant them the View Stores permission. This article explains how to set up and manage stores access for portal users.
Before You Start
Before a customer can access stores features on the portal, make sure:
- The customer has been set up as a portal user.
- The customer is marked as a Stores Customer in their profile (Configuration tab > Module Access section).
Granting Stores Permissions
- Go to Settings → Customers.
- Click on the customer to open their profile.
-
Switch to the Portal Users tab.
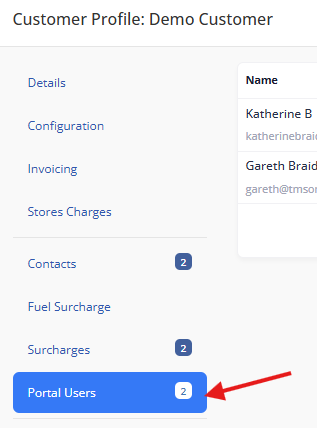
-
Find the portal user you want to update and click the Edit button to open Permissions.

- In the permissions modal, tick View Stores.
- Click Save.


The portal user will now see the Stores section when they log in to portal.transmas.net.
What the Permission Grants Access To
When a portal user has the View Stores permission, they can:
- View the Stock Status screen — similar to Live Stock screen in the main system, showing real-time stock levels across all products held for their account.
- View Goods In and Goods Out orders and their current status.
- See allocation and dispatch details on their orders.
Tips
- A portal user can have multiple permissions enabled at the same time — for example, View Stores and Create Orders together.
- If a customer can't see the Stores section on the portal, check that they have the View Stores permission enabled and that the customer is marked as a stores customer.
- Changes to permissions take effect immediately — the portal user will see the updated access on their next page load.