Prestart Settings (TransMaS Plus)
The in-app Walkaround System enables your drivers to complete their daily checks and report any vehicle or trailer faults directly from their mobile devices. These reports are then automatically transmitted to the main system for your team's review and processing.
Important Note: Plus Feature Requirement
The Walkaround System is an exclusive Plus feature. To gain access to this functionality, please contact our team to upgrade your account to Plus.
Defining Questions
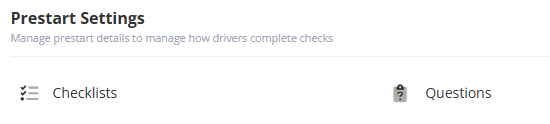
To get started, you must first define the individual questions for your checks via the Questions option in Prestart Settings.
Creating a New Question
- Navigate to Settings > Questions (under Prestart Settings).
- Click Create New in the upper right corner.
- Enter the full Question Text.
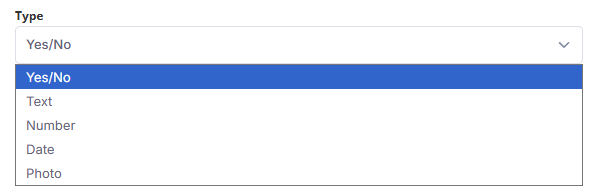
- Select the Question Type:
- Yes/No: A simple pass/fail question. Only this type will generate a fault. If No is selected, the driver will be prompted to take an optional photo of the fault.
-
Other types include Text, Number, Date, or Photo. These do not generate faults.
- Set the question requirements using the toggles:
- Allow N/A (Skip): Toggle this if the driver can skip the question. If disabled, the question is Required. If this is allowed on a yes/no question, it will display with yes, no, or n/a options in the app.
- Mark Vehicle as Off Road (VOR): Toggle this if a failed response to this question should automatically flag the resource as Off Road.
- Select the Default Fault Severity (Optional). If left blank, the system will default the severity to Medium.

Note: Default fault severity and marking VOR are available for all question types, but only have any effect with yes/no questions since those are the only ones that can currently generate a fault.
Creating Checklists
After defining your questions, you must combine them into at least one Checklist. The order in which questions are presented to the driver is determined by their order within the list.
Creating a New Checklist
- Navigate to Settings > Checklists (under Prestart Settings).
- Click Create New in the upper right corner.
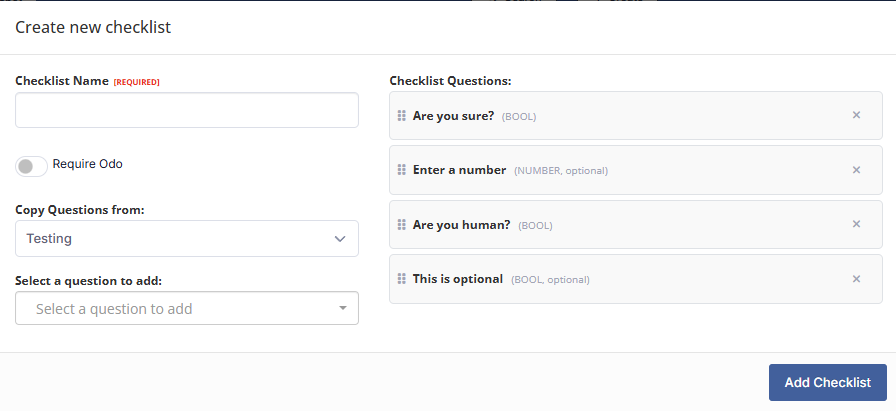
- Enter the Checklist Name.
-
Toggle Require Odo (Odometer Reading) if this information is necessary for the check.
Optional: To quickly create a list, you can select an Existing Checklist to copy its questions. These questions will prefill onto the right-hand panel.
Select additional individual questions to add from the searchable dropdown menu.
Review the list on the right-hand panel:
- Reordering: Drag and drop the questions into the desired order for the driver's walkaround.
- Removing: Click the 'x' next to a question to remove it from the list.
- Click Add Checklist to save your new list.
Checklists can be edited or deleted at any time from the listing under Settings > Checklists.
Assigning Checklists to Resources
Once a checklist is created, you must assign it to the vehicles and/or trailers that will use it. A single resource can have multiple checklists assigned, giving the driver a choice in the app (e.g., a Pre-Shift check vs. a Weekly check).
Assigning to a Resource Group (WIP)
Note: This section is currently under development (in beta). We are working to finalize the coding for assigning checklists to Resource Groups and expect the finalized process to be much more intuitive. This article will be updated once this functionality is complete.
- Navigate to Settings > Resource Groups under General Settings
- If you need to create a new resource group, select Create New in the upper right, and choose name, colour, and any checklists you wish to assign to the group. Press ctrl while clicking to add multiple checklists. You would then need to go into individual trailer/vehicle profiles to assign them to the resource group.
- To modify checklists assigned to an existing resource group: A list of all checklists are populated when viewing a resource group. Any checklists with a grey highlight are currently assigned to that resource group. Click to change which checklist is assigned. Note this will de-select any previously assigned. Use Ctrl + click to assign multiple checklists. Then press Create to save changes.
Assigning to Individual Vehicles/Trailers
You can manually assign checklists via the individual profiles of your resources.
- Go to Settings, and select either Vehicles or Trailers (under Scheduling Settings).
- Open the profile you wish to edit by clicking on its Code or the View icon.
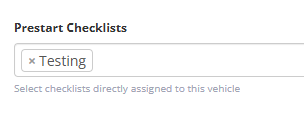
- On the first tab (Details), locate the dropdown menu to select the Checklist(s) at the bottom of the section.
- Select the required checklist(s).
- Click Update to save the changes.
Driver Use and Fault Management
Once the setup is complete, your drivers can begin completing the checks in the TransMaS app.
- For drivers: Read article on completing prechecks in the app.
- For managers: Once drivers have started completing prechecks, you can view and manage the results and reported faults from the Prestart/Faults options on the sidebar. Read article on managing prechecks and faults.