Planning in the Scheduler
New to TransMaS? If you're just getting started with scheduling, we recommend following Part 3 of our Getting Started Series: Planning (The Scheduler) for an overview of the full process.
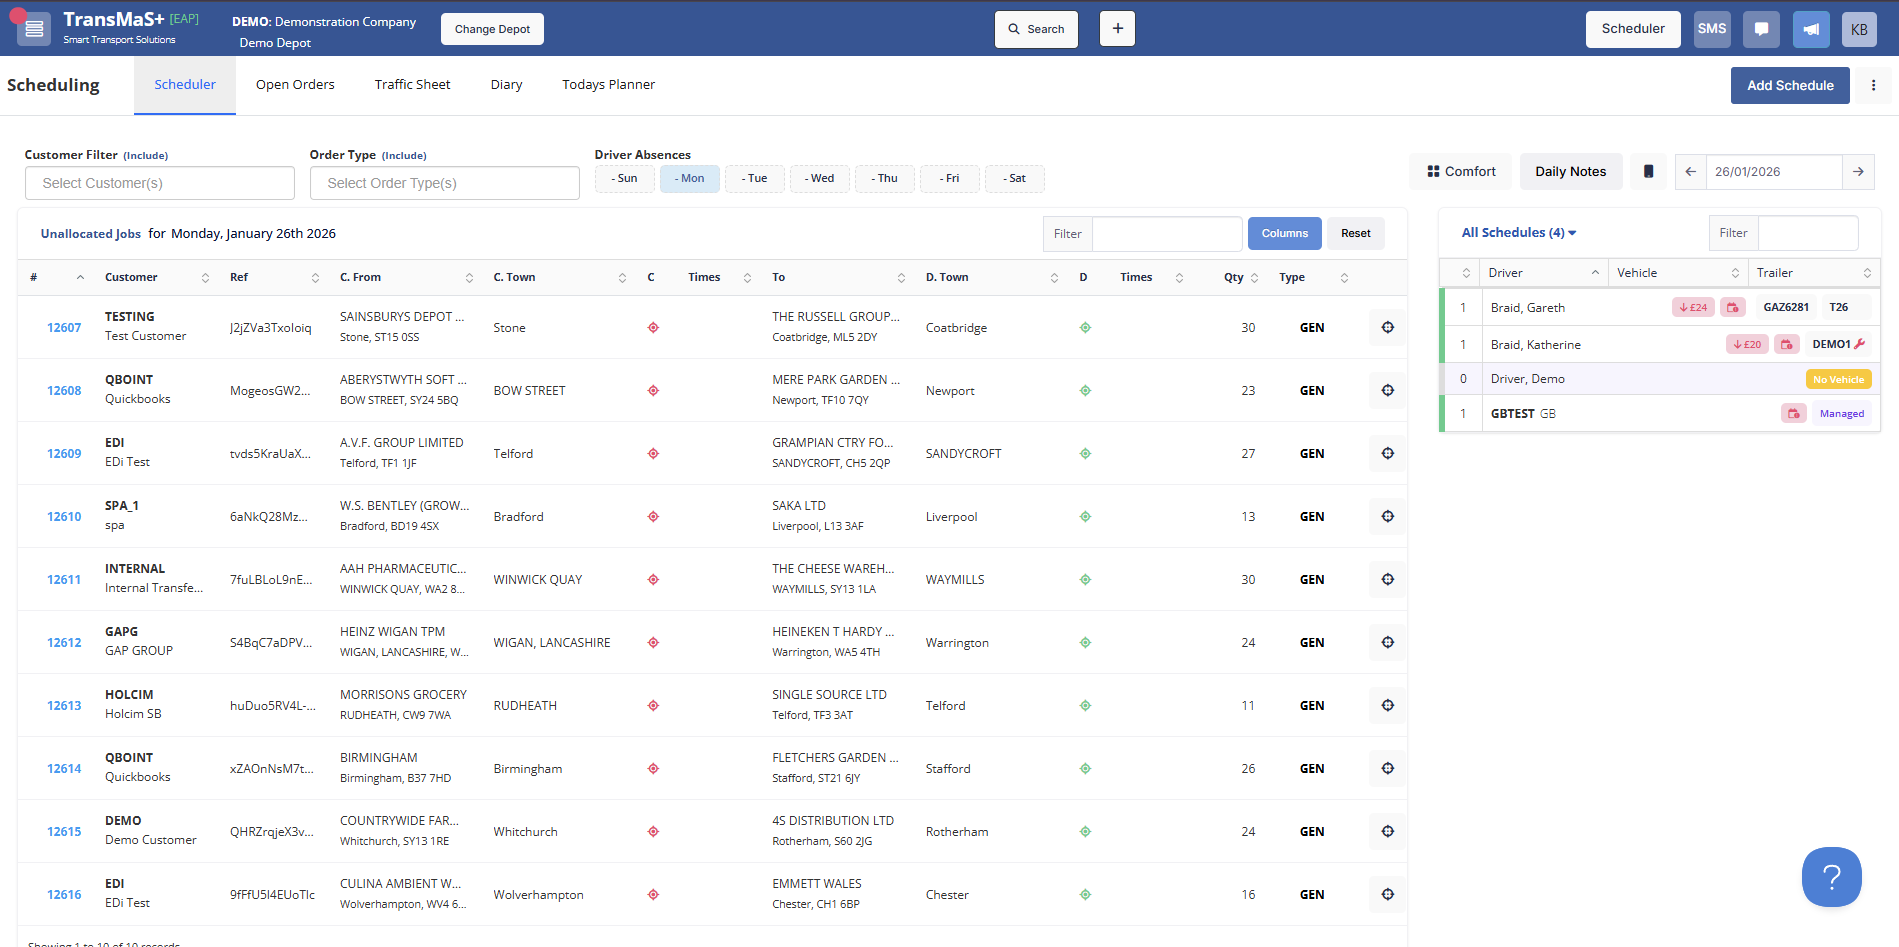
On the scheduling screen you can view all unallocated orders available on the selected day on the left, and a list of vehicle/driver pairings available for work that day (we call this a “schedule”) on the right.
The list of orders here are populated by orders either created manually or accepted from the pending orders screen. You can Right click on any order line to copy or cancel the order.
- Need to add an order? See Creating an order.
- The schedules can be pre-populated in advance by our systems or created manually. See how: How Auto-Scheduling Works and Schedule Creation.
- Learn more about everything in the scheduler screen and adjusting what you see: The Scheduler Screen
- Want to work from a list of all open orders (both allocated and not)? Go to Open Orders.

Full Trip Planning
To plan a single full trip you can use our drag and drop system using the steps below:
- Locate the order you want to assign on the left.
- Click and hold on the black button that looks like a target at the right hand side.
- Drag the mouse over to the driver/subcontract schedule you want to use.
- Once highlighted, release your mouse button to drop the order on the schedule.
- The record will go yellow while processing and then update all connected clients.
Partial Trip Planning
In addition to planning a full trip, you can also plan part of an order (Collection or Delivery part).
- Locate the order you want to split on the left.
- For the collection element, click on the red target icon, for deliveries click onto the green target.
- Drag your mouse to the relevant driver/subcontract schedule you want to allocate it to.
- If the alternate part has not already been planned (e.g. if you're planning a delivery and the collection has not yet been planned), you will be prompted to select a midpoint
- If there is no midpoint, select no drop to not send further instructions to the driver.
Split Trip planning can be used to assign some of the order to day 1, and the remainder to day 2
Multiple Planning
You can also plan multiple orders at a time, this can be done quickly and easily from the scheduler.
You can press M to toggle Multi-mode at any time. This will be shown by the individual planning icons disappearing, and the multi-select bar appearing near the bottom of your screen.
- Press M to enter multi-mode.
- Click the orders you want to assign to a schedule (the order is remembered).
- Select one of the target icons (red = collection, green = delivery, black = both).
- Drag the icon to the schedule you wish to allocate the orders to.
See more about multi-mode: Multi-mode on the Scheduler
Auto-confirmation Mode
By default, any planning done is in draft format. By pressing ALT + C at any time (when not in an input box), you will toggle auto-confirm mode. This will show a green Auto confirm mode indicator at the top of the available orders.
When orders are planned they will then automatically be confirmed and sent to the mobile app.
See more about schedule confirmation

Contract Orders
Any unfilled contract orders can be seen in the lower half of the scheduler screen. To draw down from a bulk order, click the handle at the end of the row and drag it into the top half of the scheduler or directly onto a schedule.
See more about: Working with Contract Orders